Today, I’ll be going over everything you should do during a Monster Hunter Rise hunt to help you succeed.
During a Monster Hunter Rise quest, start by using stat boosting items before departing on a route to your objective. Collect items on your way and then complete the main objective in the time allotted for a successful hunt.
Figuring out what to do during a Monster Hunter Rise quest may seem like a lot to learn but it becomes fairly simple once you know what to do.
I’ll be covering what to do in today’s guide, so let’s get to it!
If you’re interested in the most popular Monster Hunter games right now, you can find them by clicking here.
Monster Hunter Rise: Hunting Process Overview
Do you want to know how Monster Hunter Rise plays?
This handy beginner’s guide will go over Monster Hunter Rise’s game flow (what to do before, during, and after a hunt) step-by-step with pictures.
Take a quick look at what we’ll be covering:
| STEP | TASK |
|---|---|
| PART 1: Before A Hunt | Accept Quest |
| Hunter’s Notes | |
| Item Loadout | |
| Weapon Selection | |
| Equipment Selection | |
| Buddy Selection | |
| Eating Food | |
| Misc. | |
| PART 2: During A Hunt | Consume Stat Boosting Items |
| Take Items From Supply Box | |
| Locate The Monster | |
| Make a Route, Collect Items | |
| Hunt Monster | |
| Reap Rewards | |
| PART 3: After A Hunt | Item Loadout Refresh |
| Visit Smithy | |
| Check Misc. |
This post may contain Amazon affiliate links we earn from. Please assume all links are affiliate.
In this part, we will be covering what to do during a hunt
Check out parts 1 and 3 of this series to find out what to do before and after a hunt respectively:
- What To Do Before A Hunt (Monster Hunter Rise Guide)
- What To Do After A Hunt (Monster Hunter Rise Guide)
What To Do During A Monster Hunter Rise Hunt
Once the pre-hunt preparation has been completed, a hunter is free to depart on their quest.
The “Hunting Monster” phase begins the moment you arrive at your destination and the timer starts ticking.
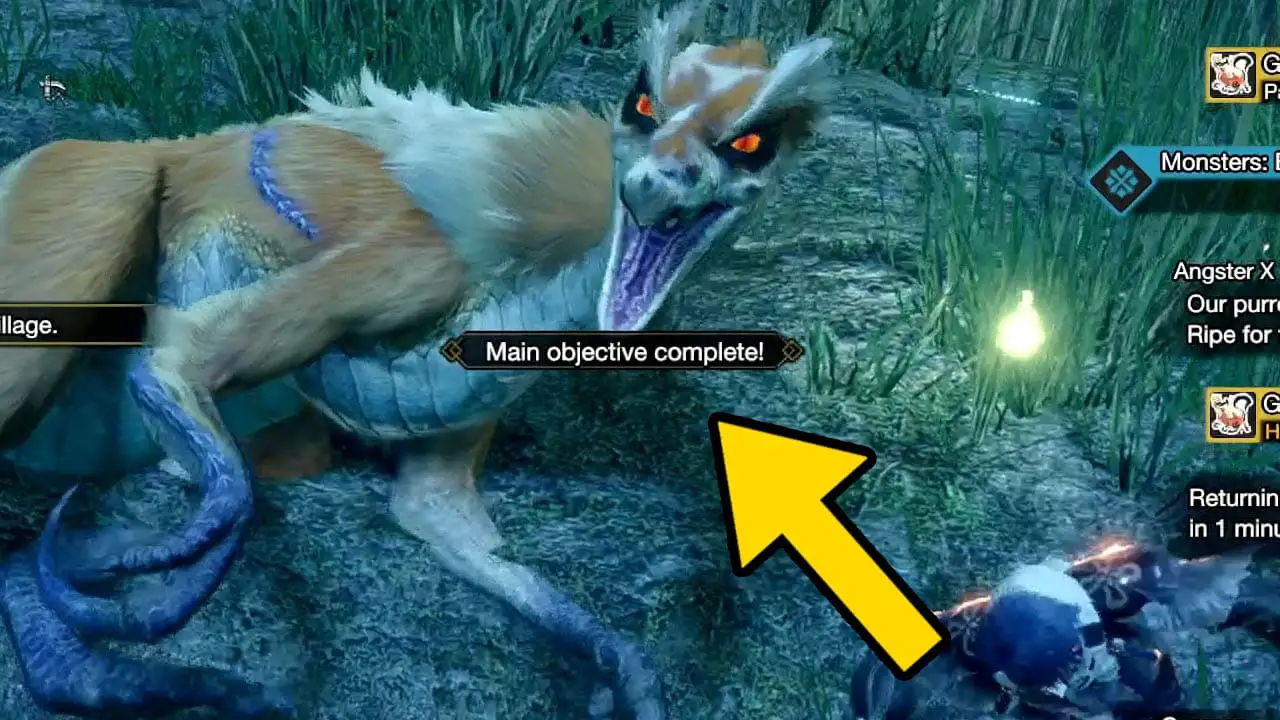
The goal is to complete your objective. For the remainder of this guide, let’s assume you’re taking on a standard single large monster hunt in which the objective is to defeat the large monster.
The hunt begins now!
1) Consume Stat Boosting Items
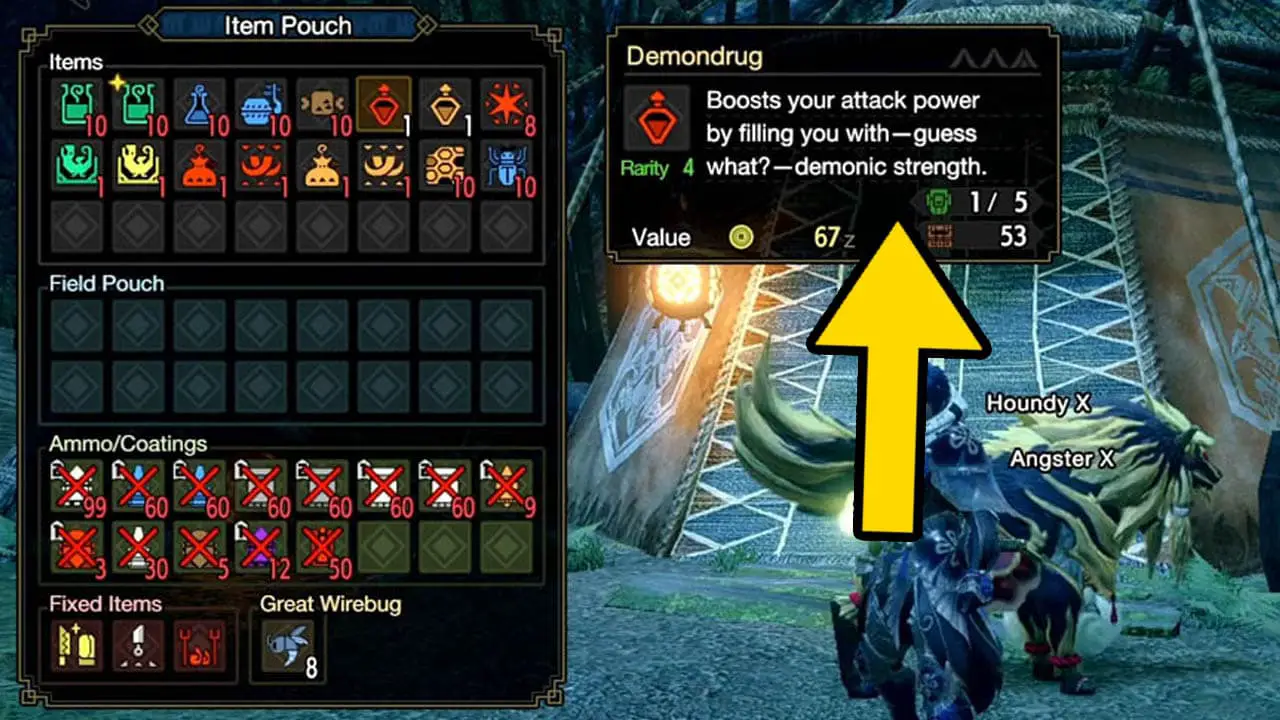
Consume status boosting items at the very start of the quest.
Demondrug and Armorskin
- Demondrug is a consumable item that boosts attack
- Armorskin is a consumable item that boosts defense
Both items can be crafted and remain in affect for a single mission until you faint or the mission ends.
Stat Boost With Other Items
There are variations of attack and defense boosting items you can consume (along with stamina enhancing consumables) so try them all.
Check your defense and attack status numbers to see how each benefit you.
2) Take Items From Supply Box
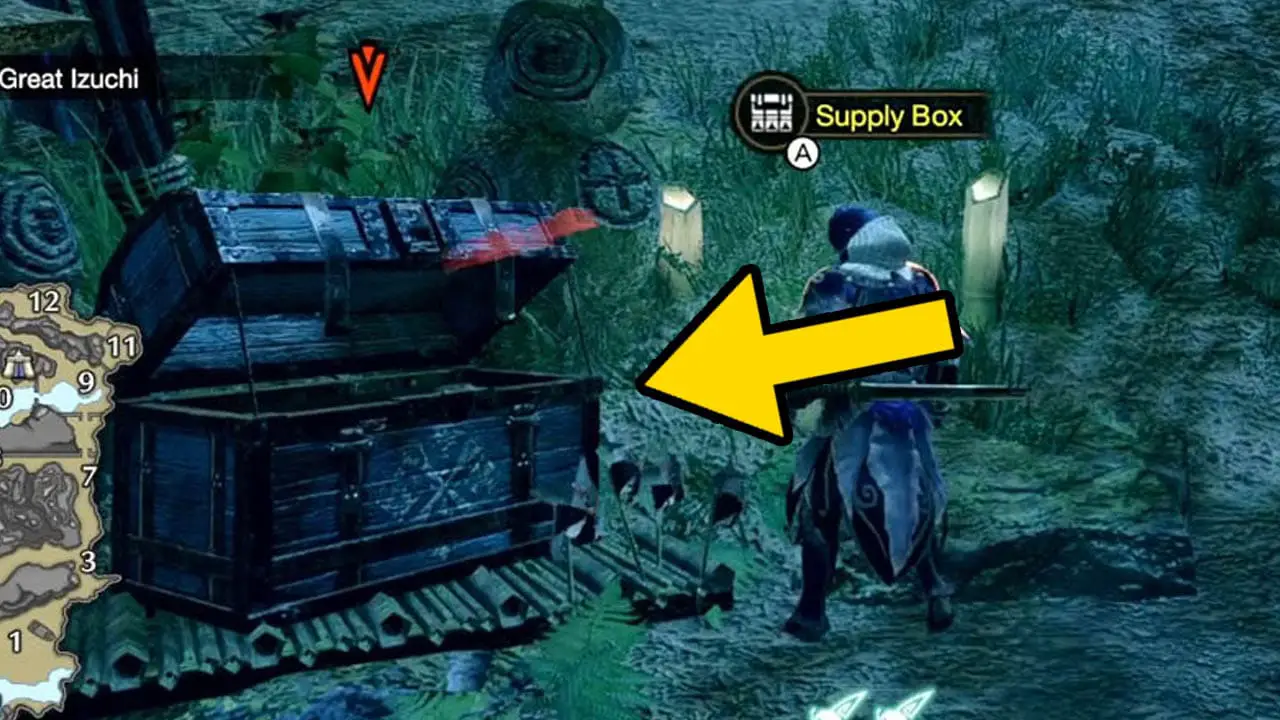
Locate and access the blue supply box to obtain free quest items for your hunt.
- The supply box is always near the starting camp.
Free Quest Items
Free quest items include health restoration, stamina restoration, ammo, and more.
Multi And Single Player Etiquette
Make sure you share these items if you are playing multiplayer.
- This is proper Monster Hunter community etiquette to make sure each hunter gets a fair share of the items.
If you’re playing solo, feel free to take all of the items in the box to help you on your hunt.
3) Locate The Monster

Locate the monster by looking at your mini-map in the bottom left corner of the screen.
- A new monster will appear as a question mark until you encounter it.
You can press in and click the right analog thumbstick to target the large monster before or when you encounter it.
4) Make A Route, Collect Items
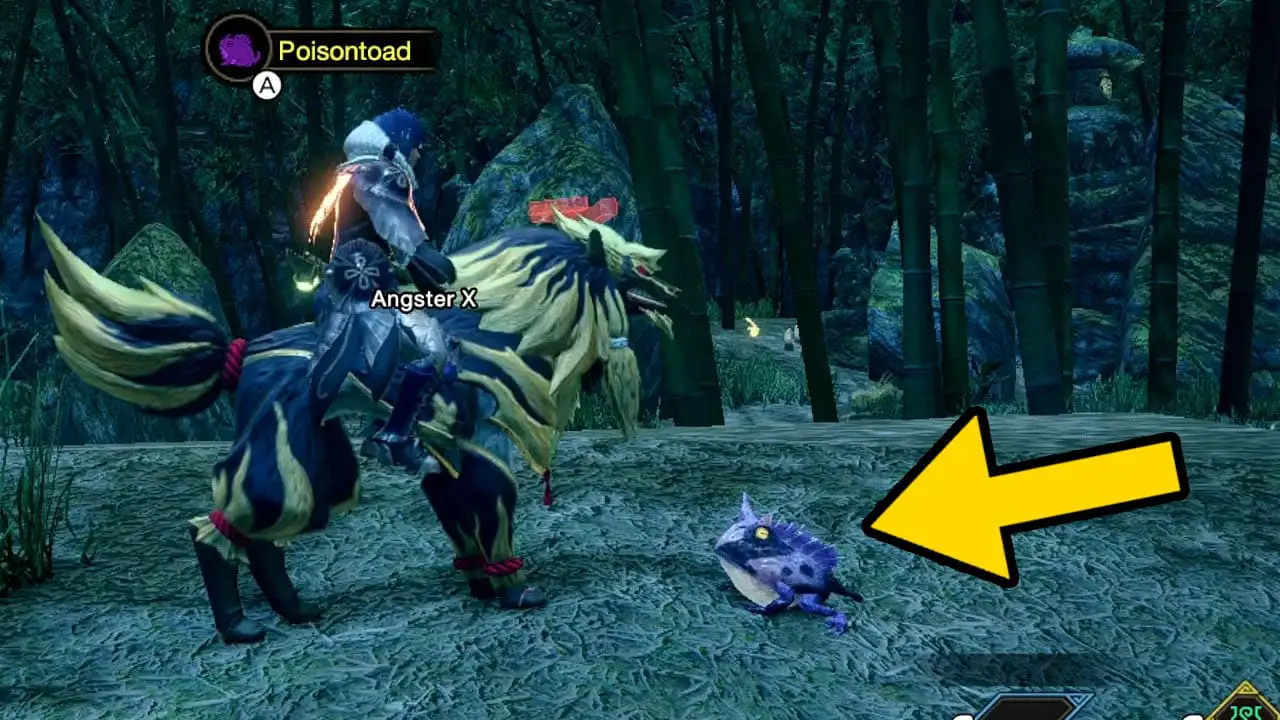
Make your way to the monster in your preferred manner.
To Collect Or Not Collect?
Some players enjoy rushing straight to the monster while others like to make a route through the locale to collect items.
I suggest becoming familiar with each location by taking a route and collect items on your way, especially when you’re new to the game.
Items For Most Every Occasion
Each locale has a host of items and stat boosting endemic life that can help you on your journey.
Some items you’ll be able to collect include
- status boosting bugs (defense, attack, stamina, and health)
- health restorative items
- offensive endemic life items
- items for crafting
- and much more
Grab items along the way to help you have a better chance at succeeding.
5) Hunt Monster
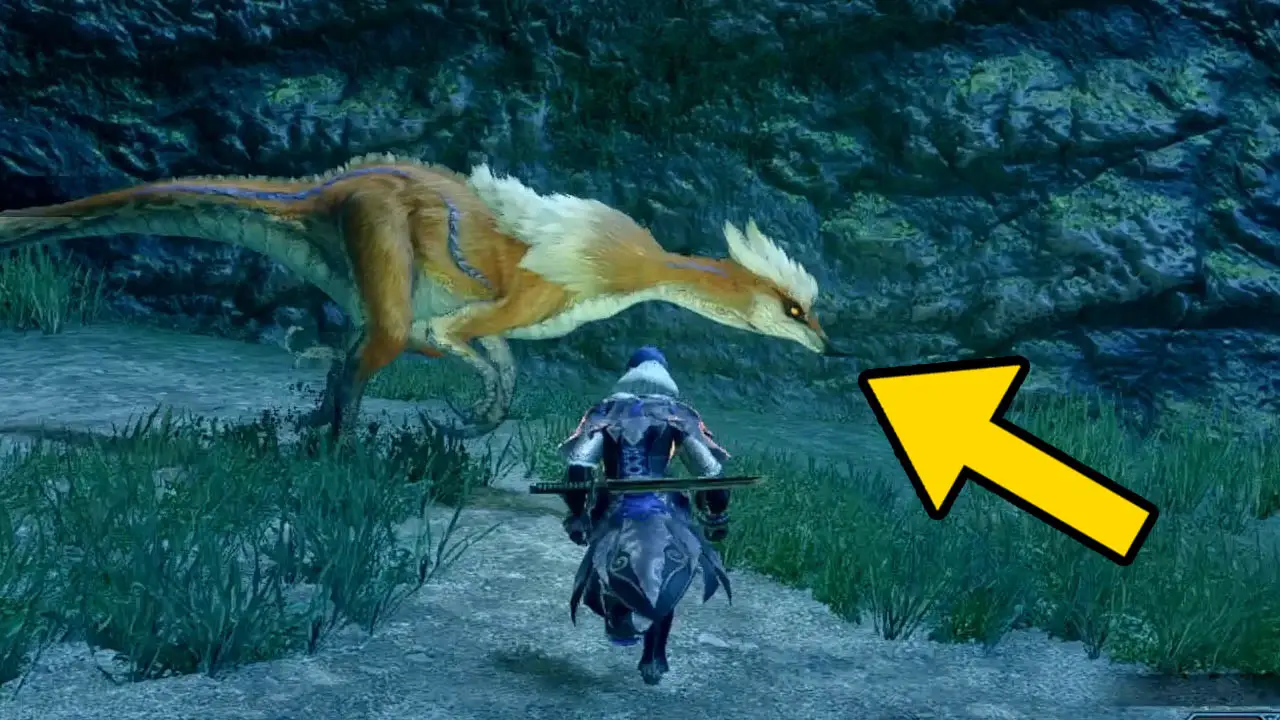
Hunting the monster is the main priority in this phase and is fun and exciting.
Monster Hunting Tips
Learn a monster’s behavior when fighting it for the first time:
- watch its attacks from afar
- see how it reacts when it sees you
- pay attention to its movements
- remember the amount of damage each attack does to you
- Dodge, run, evade, and use defensive maneuvers to stay alive while you learn more about your foe
Applying these tips will help you understand how to fight a monster with a higher chance of success.
Just Like Jump Rope
Fighting a monster will become like a game of jump rope once you’re familiar: wait for your turn to jump into battle, perform some attacks, then dodge and run back.
- take your turn
- apply some distance
- let the monster take its turn
- repeat
You and the monster will become locked into a continuous back and forth combat once you grow comfortable fighting a specific beast.
Keep battling and improving your skills and any monster will be defeated in short order.
6) Reap Rewards
Make sure you carve the monster for monster parts once you defeat the beast.
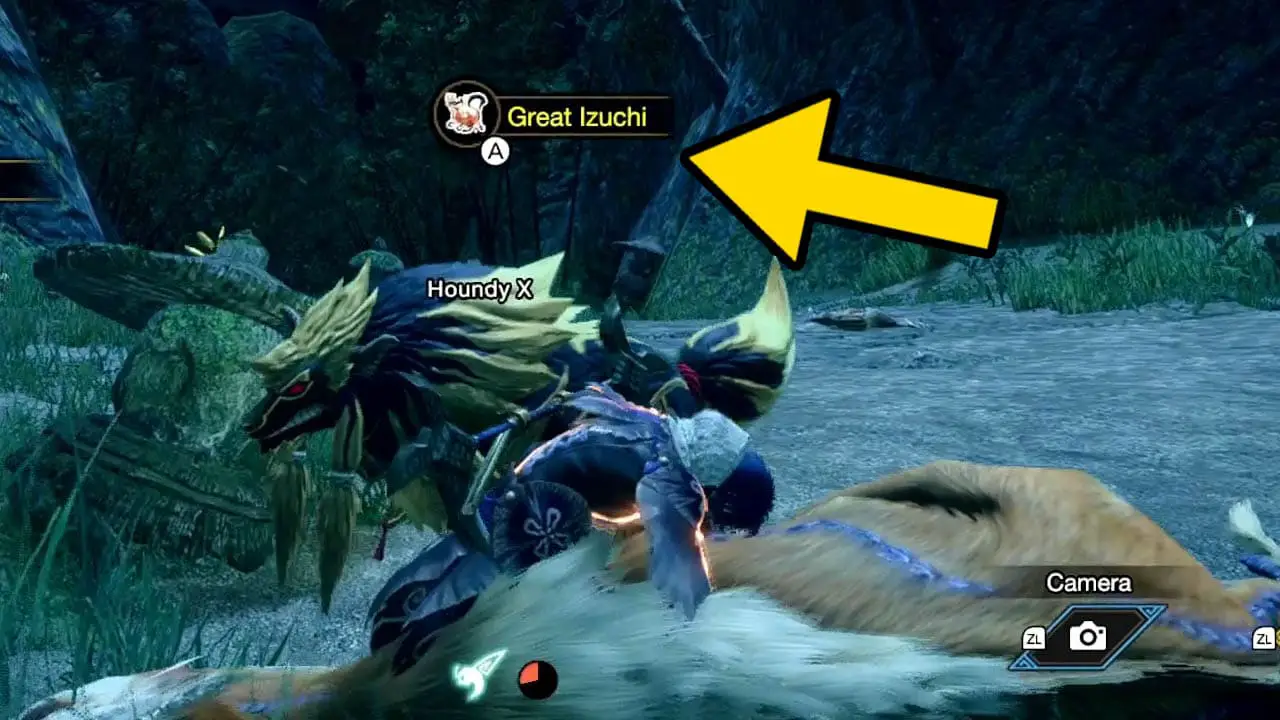
How To Carve
Stand over the monster’s fallen body until you see the prompt to carve.
- Most monsters will provide 3 carves while higher class monsters may provide more.
If a monster is captured instead of being slain, you won’t be able to carve it but extra items will be added to the post-hunt reward screen
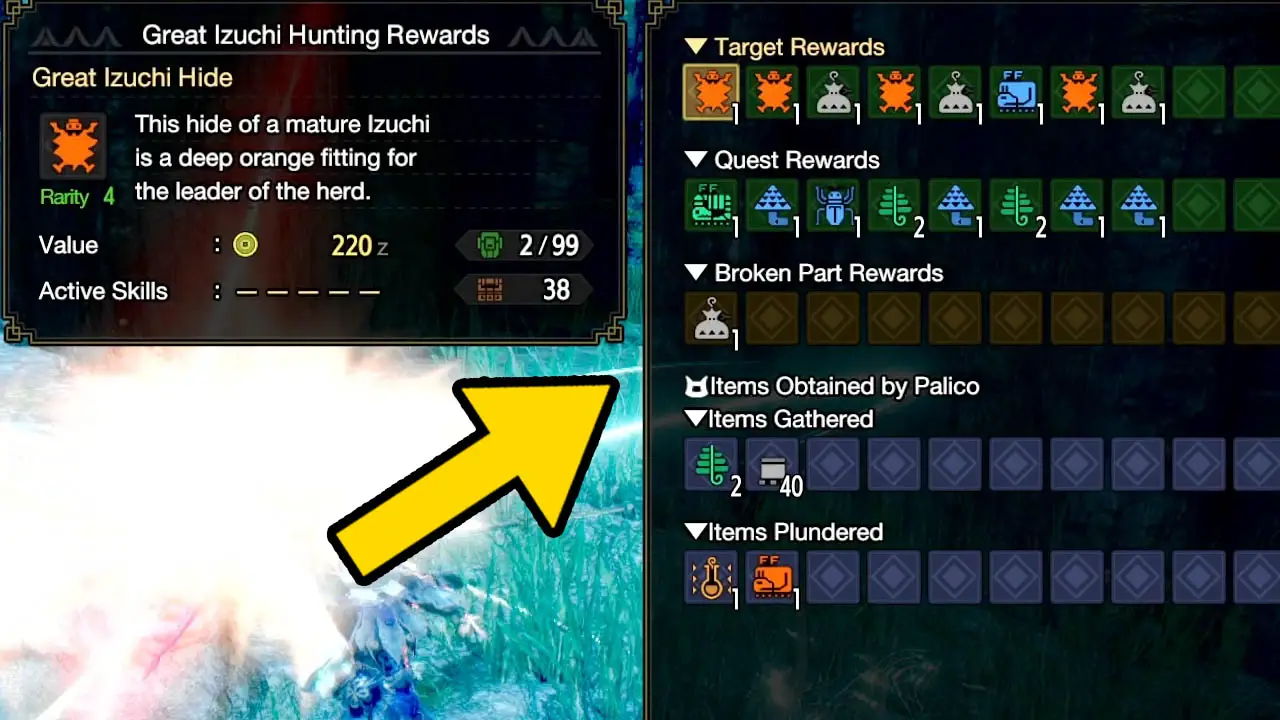
Reward Screen
A post-hunt rewards screen will appear after the hunt to provide you with extra items.
- These items can be used for crafting, weapon, and equipment building among other things.
Accept all rewards to store them in your item box.
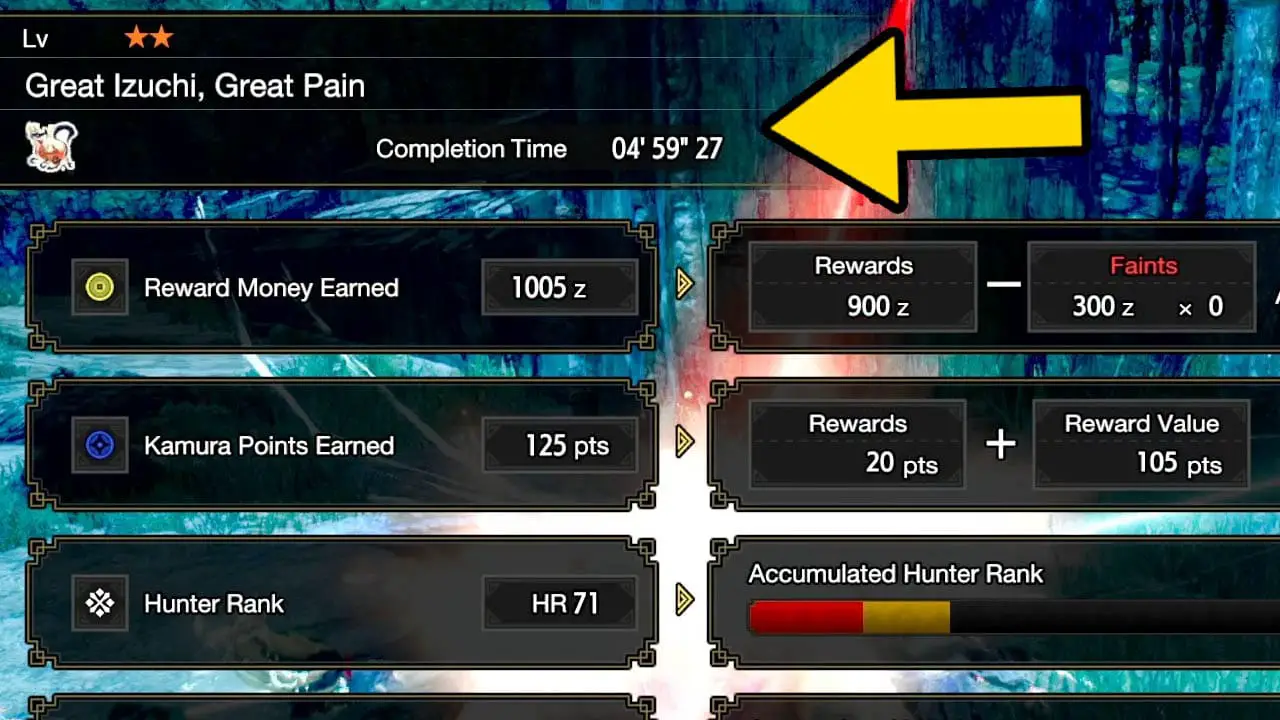
Continue onto the mission results screen.
This screen details
- how long your hunt lasted
- how many village points you earned
- your buddy’s levels
- along with other information
Return to the village after you are done reading the mission results screen.
What To Do Next
Now that you know what to do during a hunt in Monster Hunter Rise, it’s time to help you with what to do next.
Check out parts 1 and 3 of this series to find out what to do before and after a hunt respectively:
- What To Do Before A Hunt (Monster Hunter Rise Guide)
- What To Do After A Hunt (Monster Hunter Rise Guide)
See you there and happy hunting!
Read More Great Articles
Now you know what to do during a quest in Monster Hunter Rise.
Bookmark this site to stay up to date with even more Monster Hunter guides, information, and more.
Check out all Monster Hunter articles on Bucket List Games.
(Screenshots taken by me. Images sourced from product pages, websites, or social media and are credited appropriately. Logos, images, etc. belong to their respective owners. All information current at time of publication.)
SOURCE: Capcom

?")
")

")

