Today, I’ll be going over everything you should do before a Monster Hunter Rise hunt to help you succeed.
Before departing on a Monster Hunter Rise quest, it’s wise to equip the correct item loadout, weapon, and equipment. Doing so will increase your chance at success
Figuring out what to do before a Monster Hunter Rise quest may seem like a lot to learn but it becomes fairly simple once you know what to do.
I’ll be covering what to do in today’s guide, so let’s get to it!
If you’re interested in the most popular Monster Hunter games right now, you can find them by clicking here.
Monster Hunter Rise: Hunting Process Overview
Do you want to know how Monster Hunter Rise plays?
This handy beginner’s guide will go over Monster Hunter Rise’s game flow (what to do before, during, and after a hunt) step-by-step with pictures.
Take a quick look at what we’ll be covering:
| STEP | TASK |
|---|---|
| PART 1: Before A Hunt | Accept Quest |
| Hunter’s Notes | |
| Item Loadout | |
| Weapon Selection | |
| Equipment Selection | |
| Buddy Selection | |
| Eating Food | |
| Misc. | |
| PART 2: During A Hunt | Consume Stat Boosting Items |
| Take Items From Supply Box | |
| Locate The Monster | |
| Make a Route, Collect Items | |
| Hunt Monster | |
| Reap Rewards | |
| PART 3: After A Hunt | Item Loadout Refresh |
| Visit Smithy | |
| Check Misc. |
This post may contain Amazon affiliate links we earn from. Please assume all links are affiliate.
In this part, we will be covering how to prep before a hunt.
Check out parts 2 and 3 of this series to find out what to do during and after a hunt respectively:
- What To Do During A Hunt (Monster Hunter Rise Guide)
- What To Do After A Hunt (Monster Hunter Rise Guide)
What To Do Before A Monster Hunter Rise Hunt
Preparing before a hunt is essential to successfully completing your quest and opening new quests.
Rise encourages pre-hunt prep work before departing.
For the remainder of this guide, let’s assume you’re taking on a standard large single monster hunt.
1) Accept Quest
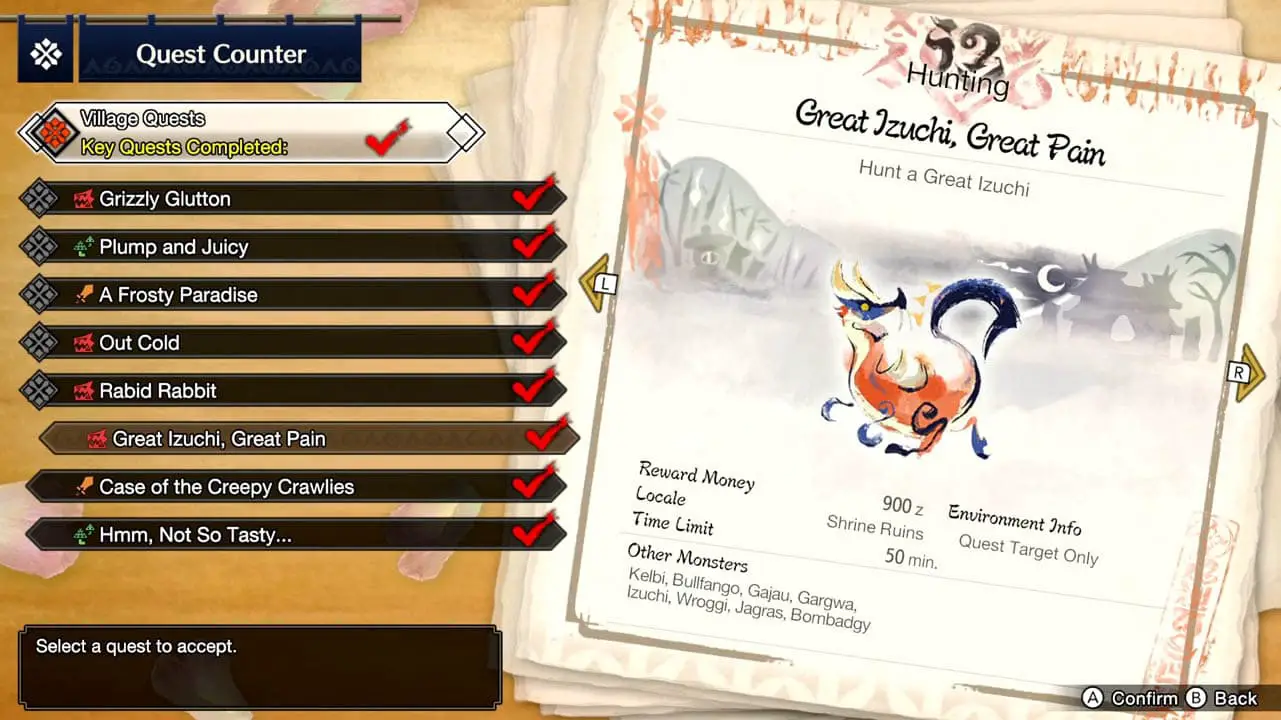
Visit the Village quest counter to access single player-only quests that progress the story.
Quest Difficulty
Difficulty ranges from
- 1 Star (easiest)
- 2 Star
- 3 Star
- 4 Star
- 5 Star
- 6 Star
- 7 Star (hardest)
The star system communicates how difficult a quest is: the more stars a quest has, the harder it will be.
Gathering Hub Quests
Alternatively, visit the Gathering Hub to access single or multiplayer quests that are more challenging (with some story elements).
Completing higher ranked Gathering Hub quests opens access to a host of powerful items and equipment exclusive to these missions.
High And Low Rank Quests
Gathering Hub quests are separated into two categories: Low and High rank.
- Low Rank quests are 1 to 3 star difficulty. Be forewarned: these star ratings are more challenging than their offline, Village quest counterparts.
- High Rank quests are 4 to 7 star difficulty. High Rank quests are even more challenging yet provide access to special High Rank gear and items to make stronger weapons and armor pieces.
Accept the quest you want to take from either the Village or the Gathering hub quest maiden when you are ready to begin.
NOTE: You won’t automatically start your quest once accepted. You must press a button to depart. This will allow you time to prepare after accepting the quest but before departing.
2) Hunter’s Notes
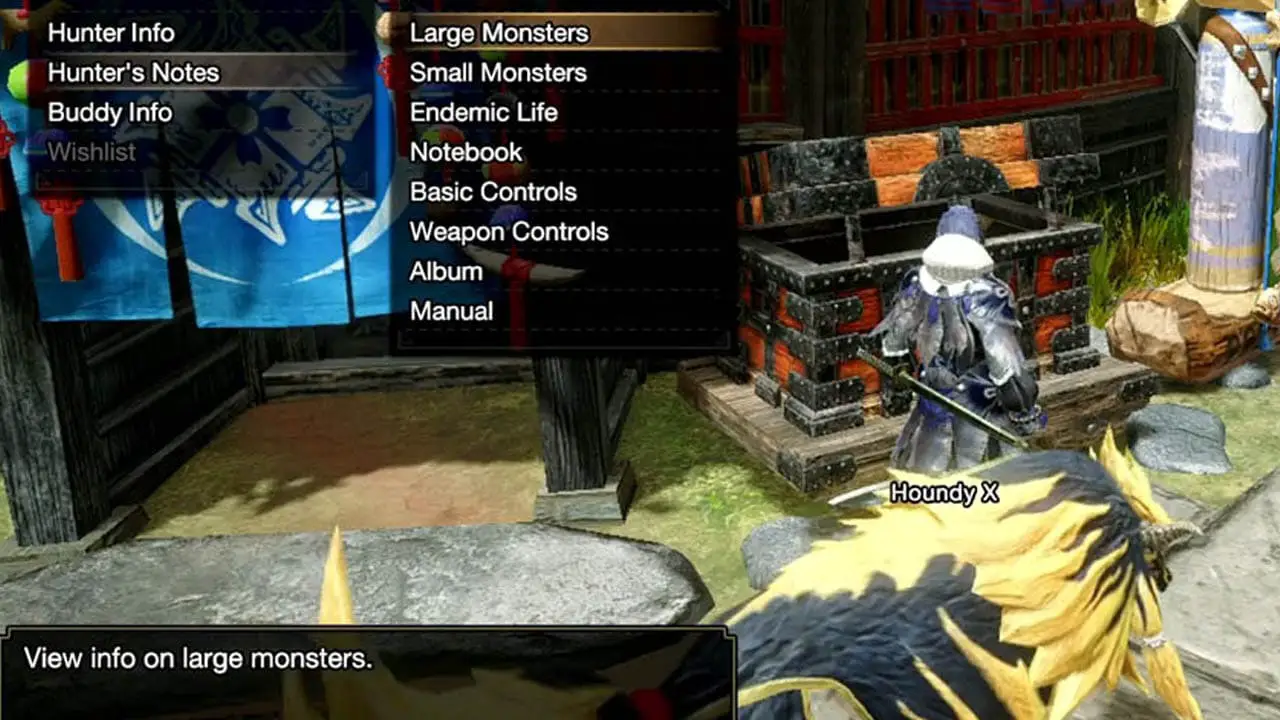
Read your Hunter’s Notes for details on the monster you are hunting.
NOTE: This is only applicable if you have already encountered a monster; if it is the first time you are hunting a monster, skip this step.
- Access the Hunter’s Notes on the Info tab in your menu.
- Click Large Monsters.
- Scroll down to the monster you are hunting and check out advantageous information about the monster.
- Monster weaknesses, ailment effectiveness, and monster part reward materials can all be found here.
This information can assist in helping decide what items and equipment to bring on a hunt.
3) Item Loadout
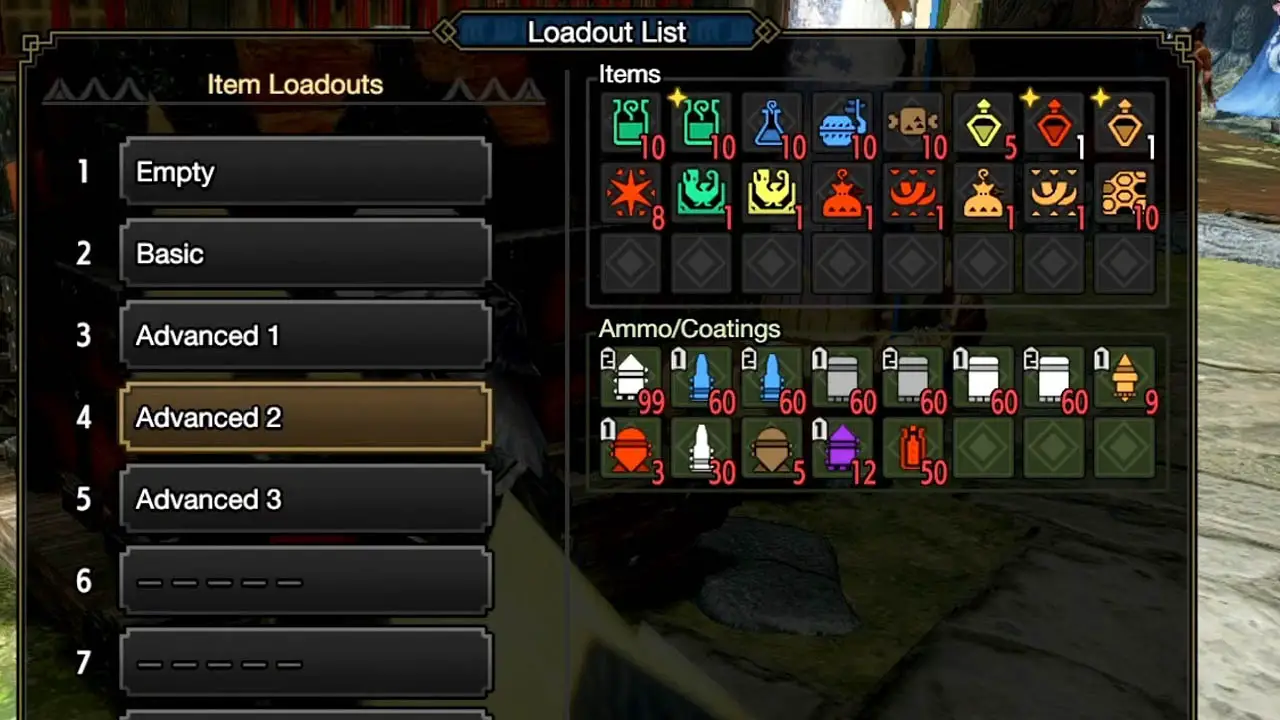
The items you take with you (your item loadout) can prove beneficial during your hunts.
Suggested Items
I suggest bringing staple items such as potions, antidotes, and rations with you.
- Potions restore your health.
- Antidotes cures you of poison/venom.
- Rations restores your stamina
NOTE: Stamina is used to perform certain actions during a hunt such as running or attacking; the stamina’s bar length shrinks during a hunt and can be recovered by using a ration.
Other Items
Additional item suggestions are usually case-by-case scenarios dependent on the monster and quest difficulty.
Learning what items to bring on a hunt will come with time, repeat hunts, and practice.
4) Weapon Selection
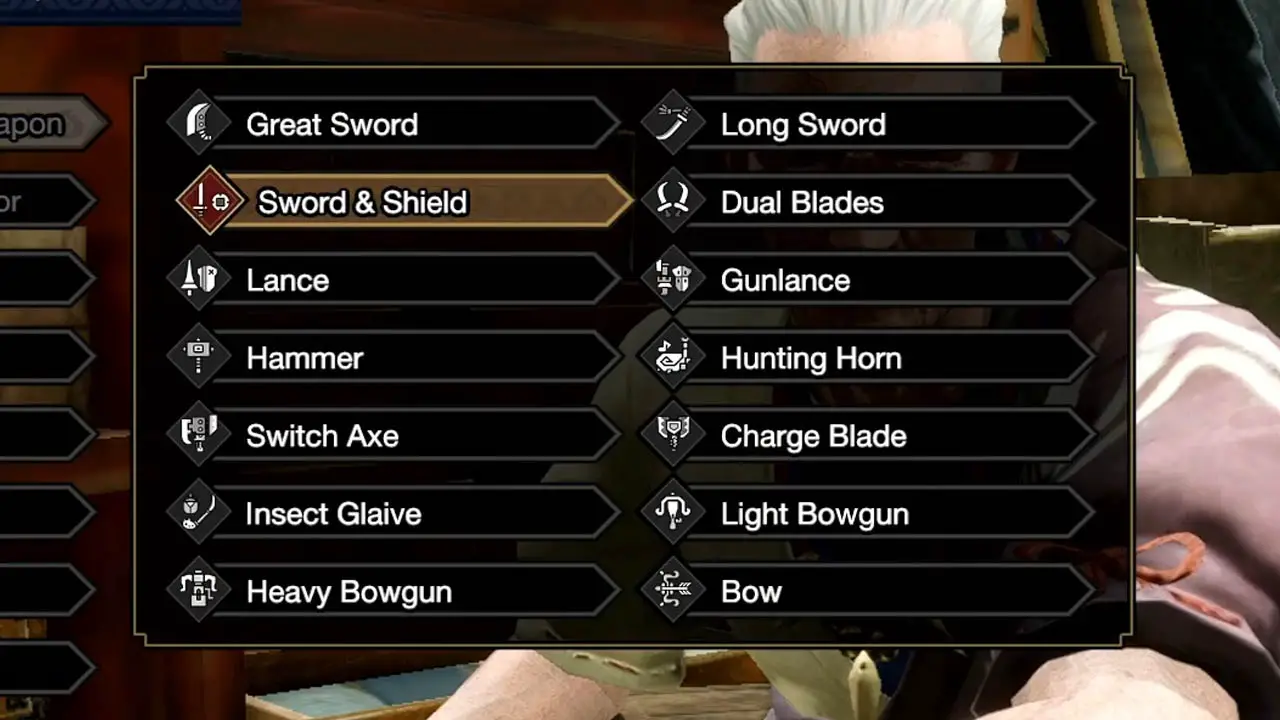
Rise provides 14 weapon types to use and each has its own benefits and drawbacks along with a unique play style.
Try All Weapons
Pick the weapon type that is right for you by giving them all a try.
- The game provides one of each weapon within the item box. Equip each (one at a time) and head to the training center to practice.
Select A Weapon For Your Hunt
Once you find a weapon type you enjoy playing, select a specific weapon in that weapon category that’ll work best against the monster being hunted.
Did the Hunter’s Notes say the large monster is weak against fire?
- Select a weapon with fire element.
Think the monster is too scary to fight with hand-to-hand melee weapons?
- Select a light or heavy bowgun to use from a distance.
Or simply pick the strongest weapon you can afford or craft and brute force your way through victory.
There Is No Such Thing As The Perfect Weapon
Weapon selection is ultimately up to you.
Try out a host of weapons until you find one or two that fits your play style and/or works best against the monster being hunted.
5) Equipment Selection
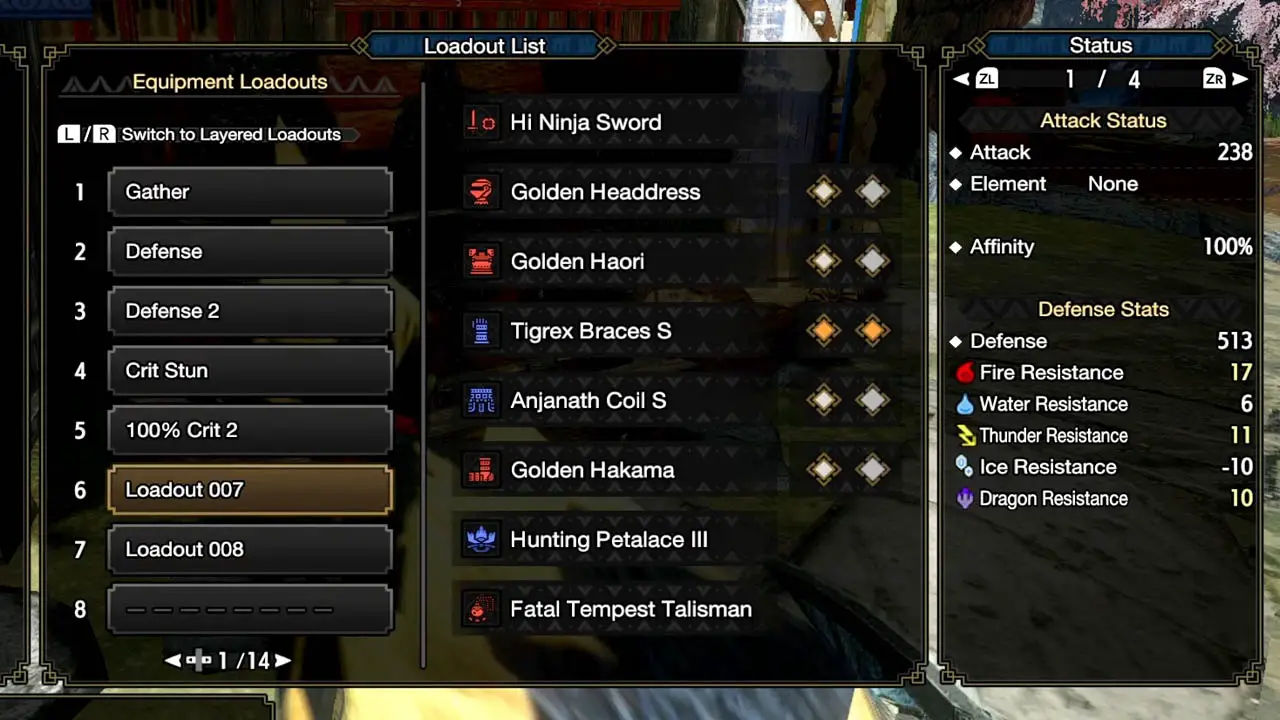
Visit the Village and the Hub Prep Area smithies to craft gear or change armor. Equipment can also be changed at item boxes.
Your First Armor
Select the gear that provides the most defense during the early game. Why?
High defense armor helps reduce damage received from attacks.
Hunt More Monsters, Craft More Armor
Craft new armor sets–based upon each specific large monster–as you unlock them by hunting monsters.
Armor Skills
Each piece of armor or armor set provides beneficial skills that can help defeat ferocious foes.
Some armor skills provide
- protection from elemental damage
- poison resistance
- monster roar resistance
- increased evasion
- improved attack
- and more
Wearing the correct equipment is fun, rewarding, and can change the tide of battle in your favor.
Mix and match to get the most from your equipment and wear the best armor suited for the monster you’re hunting.
6) Buddy Selection
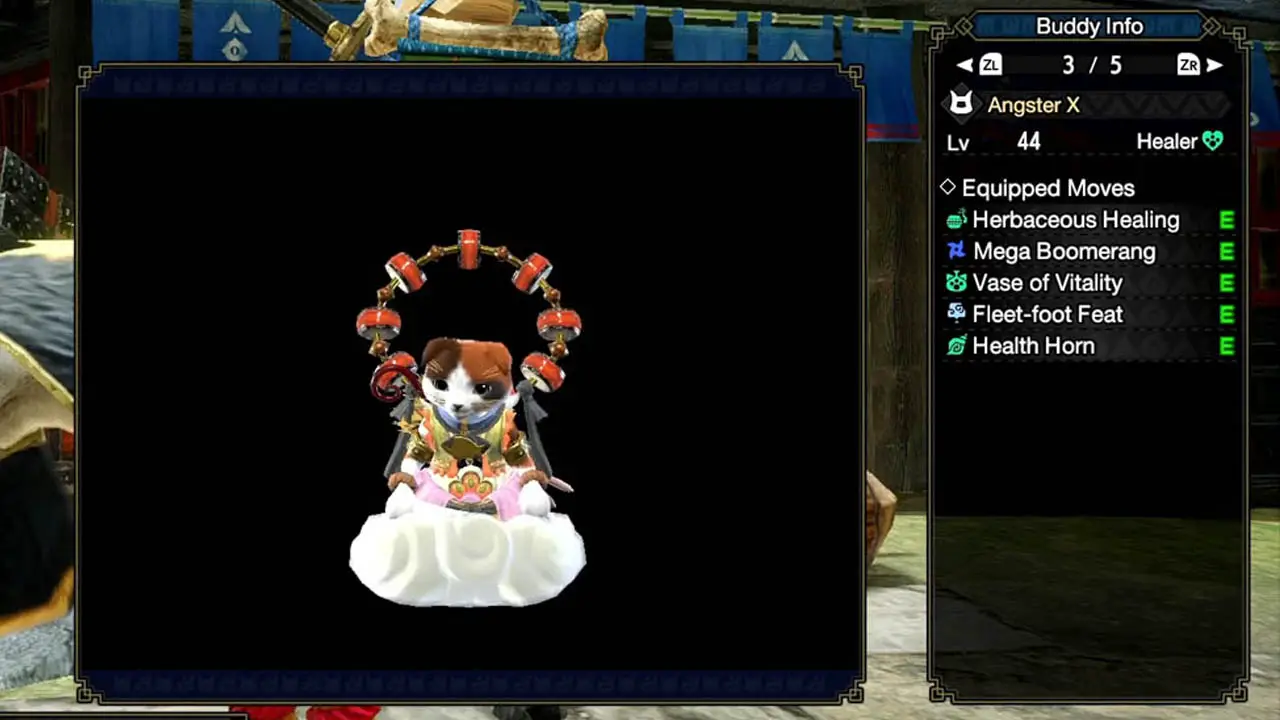
Select which buddies to take with and assist you on a hunt by visiting a Buddy Board in the Village, Hub Prep Area, Your Home, or the Buddy Plaza.
NOTE: If you’re playing single player, you can take two buddies with you. You can only bring one buddy with you if you’re playing multiplayer.
Different Buddy Types
There are two types of buddies in Rise:
- Palico (cats)
- Palamute (dog)
Palico provide support features such as healing and gathering, but you cannot ride on them to cross long distances quickly.
Palamute provide offensive attacks but lack the ability to heal you. They can, however, be ridden to cross environments faster which is unique to canine pals.
What Buddy Should You Bring Along?
I suggest selecting one Palico and one Palamute when playing single player to get a better understanding of the strength and weaknesses of each.
Buddy Selection: Multiplayer
When playing multiplayer, it is commonly preferred to select a Palamute when starting out and then switch to a Palico companion when you become more experienced.
A Palamute will help you to keep-up in a multiplayer setting by being able to ride it.
Once you are experienced enough to travel long distances quickly without the need of a trusty canine, Palicos are preferred for their healing capabilities.
7) Eating Food
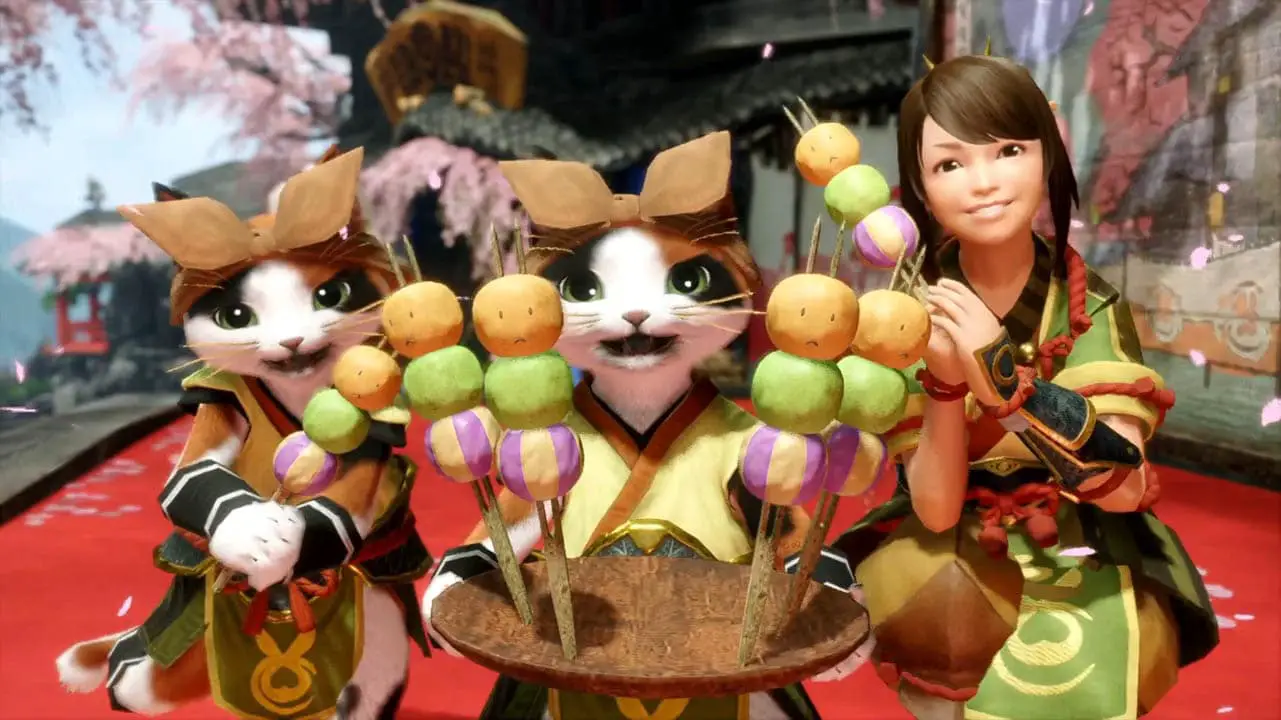
Visit the canteen to order and eat a dish of Dango food.
Always Eat Before A Hunt
This treat will boost various properties for the next hunt.
- The food perk will only last a single hunt so you will have to order and eat food before every hunt.
Food Perks
Perks obtained from every dish include
- extra health
- extra stamina
Additional benefits (such as extra defense, attack, elemental resistance, and so forth) depend on the Dango you select.
Mix and match up to 3 Dango to get the desired meal benefits that will be most helpful on your hunt.
8) Misc. Argosy, Meowscenaries, Buddy
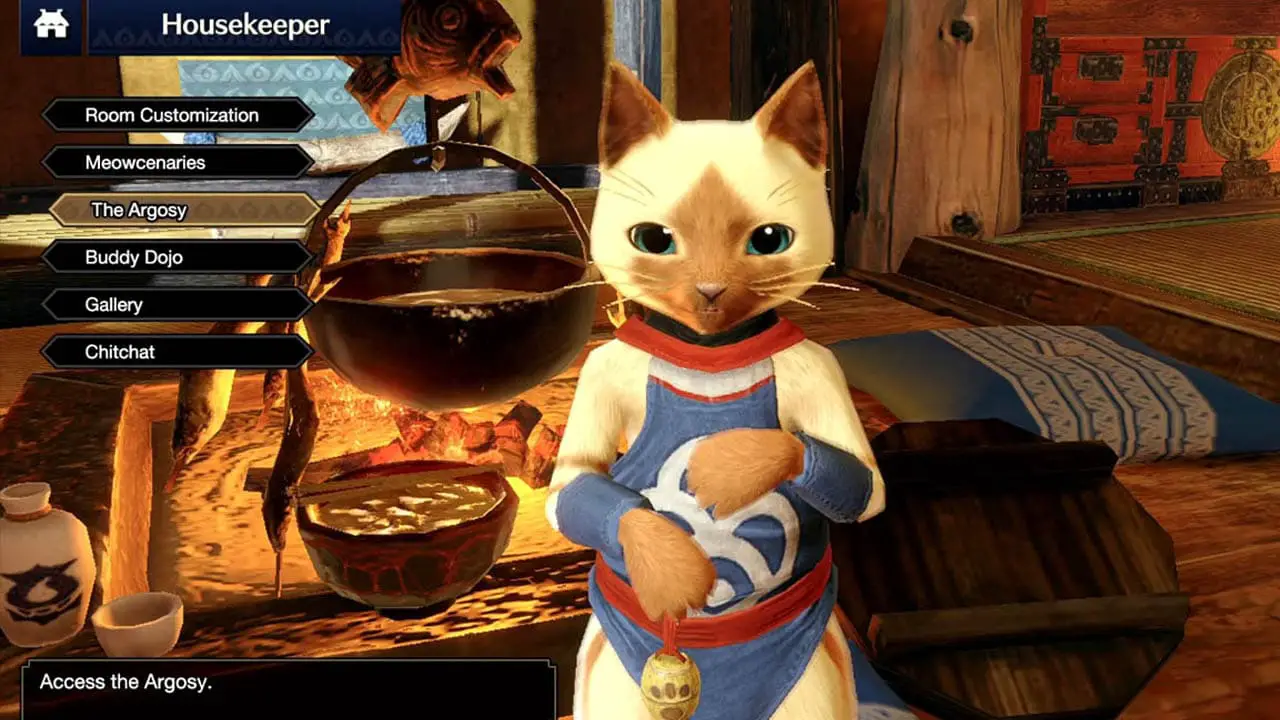
The last thing to do before a hunt is to check the various misc. spots around the village.
Trading, Scouting, and Buddy Training
Visit the . . .
- Argosy—a lady who travels the sea for goods. You can trade and obtain unique items.
- Meowscenaries—scouting buddies. You can send your Palico/Palamute to locations to gather items.
- Buddy—a dojo for your Buddies. You can train your Palico/Palamute to get stronger.
Passive Progress
Each of these are passive features within Rise that can be set and will progress automatically while you hunt.
Finish a certain amount of hunts to complete your trades, scouting, or training.
Make sure to visit these locations often to make sure you’re getting the most out of these services.
What To Do Next
Now that you know what to do before a hunt in Monster Hunter Rise, it’s time to help you with what to do next.
Check out parts 2 and 3 of this series to find out what to do during and after a hunt respectively:
- What To Do During A Hunt (Monster Hunter Rise Guide)
- What To Do After A Hunt (Monster Hunter Rise Guide)
See you there and happy hunting!
Read More Great Articles
Now you know what to do before a quest in Monster Hunter Rise.
Bookmark this site to stay up to date with even more Monster Hunter guides, information, and more.
Check out all Monster Hunter articles on Bucket List Games.
(Screenshots taken by me. Images sourced from product pages, websites, or social media and are credited appropriately. Logos, images, etc. belong to their respective owners. All information current at time of publication.)
SOURCE: Capcom

?")
")

")

