Today, I am sharing 10 tips to help you get better at Pancake Bar Tycoon for the Nintendo Switch.
Mastering Pancake Bar Tycoon is fun and challenging but can be done if you put your mind to it. Upgrading your kitchen, serving your customers in order, preventing your pancakes from getting burned, and serving your customers cupcakes are just a few of the factors that can help you achieve a 3-star high score on every mission.
Continue reading for all of my best tips and tricks at conquering this fun dining game, tips and tricks I will be detailing one-by-one below.
If you are interested in checking out the most popular Nintendo Switch games, you can find them by clicking here.
What is Pancake Bar Tycoon?
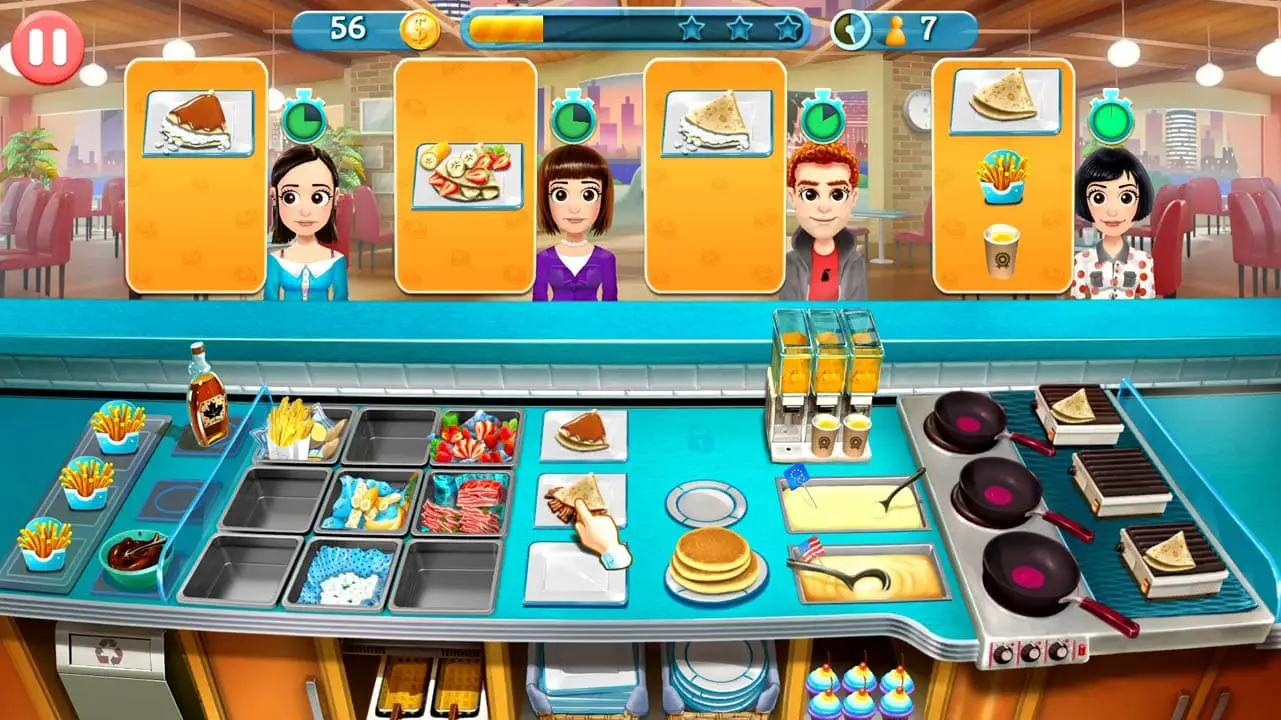
Pancake Bar Tycoon is a vibrant dining simulator about serving dishes to customers on a timely basis to obtain a high score.
Failure to do so will create unsatisfied customers and lower your score.
The game contains
- 60 replayable missions
- kitchen upgrades to unlock
- an increasing difficulty curve
- dozens of achievements to accomplish
- and extra downloadable content packs that provide additional content if desired (an extra cost)
This single player, offline experience also includes relaxing music and cartoon visuals that make it perfect for
- foodies
- girls
- families
- teens
- a younger audience
- and even the most avid of video gamers due to its focus on reflexes and task management
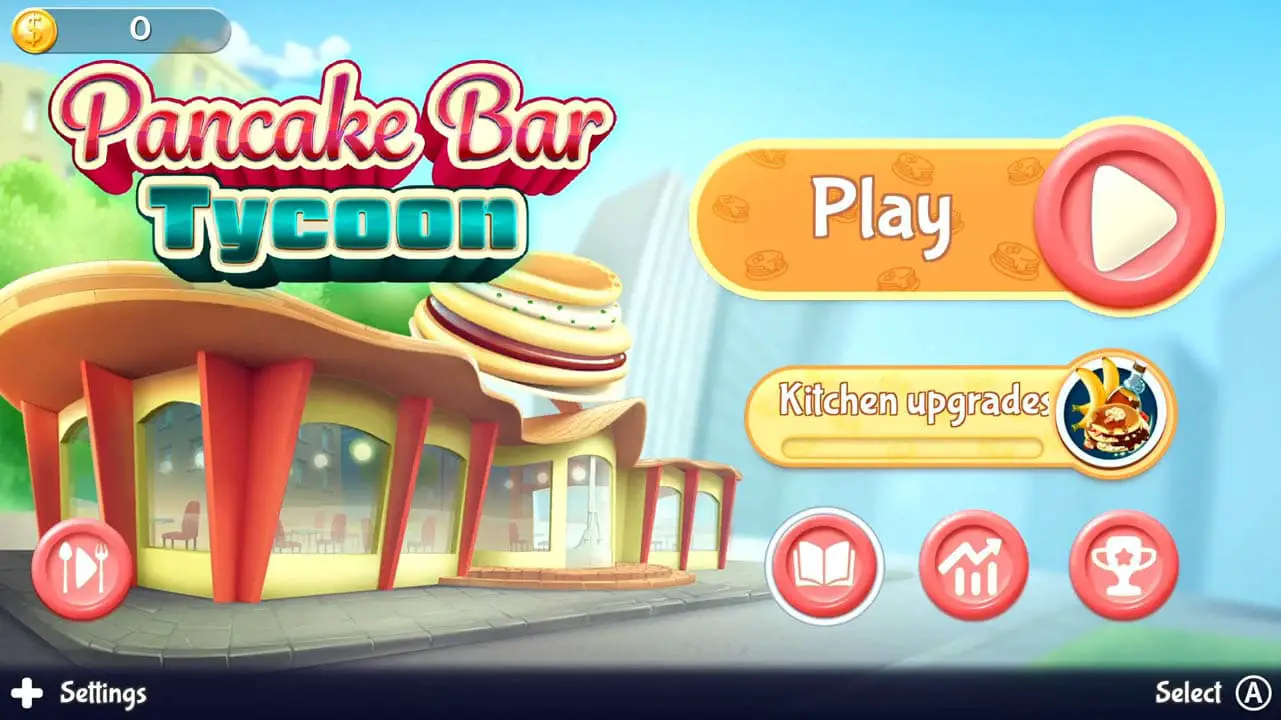
Pancake Bar Tycoon launched on March 5th, 2021 for the Nintendo Switch.
10 Awesome Pancake Bar Tycoon Tips And Tricks
Pancake Bar Tycoon is a hectic dining experience that requires precise controls, fast reflexes, and a focused mind to complete missions with the highest rank: 3 stars. It is a daunting feat to achieve but it is doable by following certain best practices, tips, and tricks.
1) Select Your Preferred Input Method
Pancake Bar Tycoon can be played connected to a television or in handheld mode, allowing you to live out your food-serving dreams whatever way you like.
Additionally, the game includes touch screen controls in handheld mode and can be played with precise touch inputs.
Touch Screen Or Buttons: Your Choice
Touch a pancake or finished dish and simply drag and drop it to the correct customer to deliver your orders with ease.
Or, you can play the game with traditional button controls (this is how I completed the entire game and mastered every mission).
Buttons controls are not as intuitive or as easy as touch controls but work well once learned.
Play as you like and try both input methods to find which control style feels the most comfortable to you.
Take it from me: you are going to need the best control method at your fingertips to complete missions as they get harder and more intense.
2) Immediately Create Orange Juice
Start making orange juice the moment the missions starts.
More Orange Juice, The Better
Orange juice will not become overfilled, rancid, and cannot burn like pancakes if sitting for too long.
This means you can always have cups of orange juice waiting at all times by pressing the L button to start the juicing process.
I suggest mashing that L button the moment the mission begins before a single customer comes on screen.
This will put you in prime position to serve the first few customers orange juice while removing one thing to worry about from your to-do list as the diner gets busy.
Preemptive juicing means future happy customers.
3) Immediately Create European Pancakes
Prep your orange juice then quickly prep your European Pancakes (crepes).
Pancake Prep Pro
In the early game, all of your customers will only want European Pancakes as a base for your dishes.
This makes serving dishes much simpler as you already know what to expect.
This is why I suggest navigating to your European Pancake Batter as soon as possible, even before a customer shows up, and start cooking right away.
This will jump-start the pancake cooking process as pancakes take the longest to make in the game.
Late Game Pancake Making
In the late game when you unlock American Pancakes, I suggest varying the pancakes you make at the start of a mission.
Unlock an additional frying pan in the Kitchen shop and then make one European and one American pancake as soon as the mission begins.
This allows you to have one of each pancake which is great preparation for whatever the first customer asks of you.
You will not get behind if you start thinking ahead.
4) Remove Pancakes From Pan Before They Burn
Your pancakes will burn if you do not remove them within seconds of them being finished.
Avoid The Burn
Granted, pancakes of any variety take time to cook and it is quite easy to get distracted by everything else that needs to be done in the kitchen.
What happens next? You burn a pancake and a customer leaves unhappy which only serves to lower your total mission score.
Bummer.
Make it a point of watching your pancakes cook to prevent burning. And how do you remove your pancake from the pan to prevent burning, you ask?
Hover over your cooked pancake pan and press A to remove it from the heat. Then, place it on a nearby griddle or on a plate for serving.
No muss, no fuss, no burned pancake batter.
5) Invest In Additional Pans And Plates First
Buy additional frying pans and pancake plates in the Kitchen shop as your first upgrades to improve serving time and efficiency.
Your Most Important Upgrades
You will need to serve more customers at a quicker pace as new missions unlock and become more difficult. The best way to do so is by getting more pans and plates.
Unlocking and purchasing additional frying pans (used to cook pancakes) and serving plates (used to set and serve cooked pancakes) will allow you to serve customers faster than simply having one pan and plate.
You can immediately cook three European Pancakes when a mission starts with three frying pans unlocked. This is a game changer.
And with a trio of plates, you can set three cooked pancakes ready-to-be-served all while the first customer or two walks in. Talk about fast and efficient!
Late Game Payoff
In the late game, you will be able to get ahead of the diner rush by cooking a combination of pancake types in preparation of customers to come.
More pans and plates means you can remain ready whether they want American or European dishes from the start.
Upgrade now and thank yourself later.
6) Upgrade The Orange Juice Machine and Deep Fryer Next
Upgrade your orange juice machine and deep fryer after you finished upgrading your pans and plates.
Juice More, Fry More
An upgraded orange juice machine provides you with up to 4 total cups of juice while an upgraded deep fryer will allow two items to be deep fried at once (and at a faster pace once fully upgraded).
These upgrades are not as vital to your dining workflow (especially early on) because both tasks take less time than cooking pancakes.
If you are efficient enough, you will rarely have a moment where a customer will become unsatisfied due to having orange juice or french fries served late during early missions.
Orange juice and deep fried foods are fast tasks and early missions supply customers at a slow pace.
Therefore, I suggest upgrading the juice machine to output at least 2 or 3 cups of juice and unlock both deep fryers before spending your hard earned tips on other upgrades.
This should help you get through the first twenty or so missions with relative ease.
Max out your juice machine and deep fryer if you have the funds available for maximum efficiency.
7) Serve Customers In Order
Nine out of ten times, serve the customers in the order they enter the diner.
Time Is Of The Essence
Customers will stay in the diner for a limited time. Your goal is to feed them before they grow unsatisfied.
This is designated by the depleting clock by their heads which means customers that enter first will have less time remaining than customers that enter after.
This is important: you will lose customer satisfaction and mission points the longer the customer waits.
And wait too long and the customer will walk away unhappy. Say good bye to your 3-star mission score!
To avoid this, serve your customers in the order they enter as best you can and make it a habit to keep an eye on each customer’s remaining time.
8) Serve Customers If You Have Food Already Prepared
Sometimes, it only makes sense to serve customers out of order if you already have the food prepared.
Nothing Goes To Waste
You want to serve customers in the order they walk into the diner to keep them happy before their time depletes as I mentioned previously.
But if you already have food made that is not being demanded by the first customer, however, serve it to another customer at the counter.
Put to use the sitting cups of orange juice your first customer has not asked for by giving them to your second or third customer.
Have a stack of American pancakes on a plate the second customer wants but the first customer is asking for European pancakes? Send the American pancakes out immediately.
Multiple customers can be served at once this way. Keep in mind this technique only really pertains to orders that do not overlap.
Always serve the first person who appeared if two or more people are asking for the same menu item.
Remember that it is better to have satisfied customers served timely than having food resting on the table waiting to go out.
9) Give Cupcakes To Customers
Give customers tasty cupcakes to cheer them up whenever they are becoming impatient.
Cupcakes Keeps Customers Happy
A cupcake will refill a small portion of a customer’s remaining time.
This is a great way to obtain more time to finish putting your dishes together and to get reorganized if the kitchen becomes too hectic.
A single cupcake will boost a customer’s timer by a few extra seconds in a pinch. This will help prevent you from losing precious customer satisfaction points that can make the difference between receiving 2 or 3 stars on your mission.
- You can have up to 8 cupcakes at a time (they rest just behind the counter if you are curious as to where they reside)
- You must buy the cupcakes before a mission starts by heading to the Kitchen shop on the main menu
- One cupcake costs 10 coins and is consumed upon use, so prepare to buy a lot of these as the difficulty ramps up
Use the cupcake by pressing the R button to grab a cupcake then select the customer you want to give it to and press A.
A free cupcake goes a long way in keeping customers happy when it is needed the most.
10) Replay Easier Missions To Earn Money
If you ever need money to buy cupcakes or unlock new kitchen upgrades, I suggest replaying earlier missions that are much easier to complete.
Easy Missions Equals Easy Money
Completing any mission more than once will still provide you with coins to spend.
Replay missions especially if you are having trouble completing missions due to your underdeveloped kitchen.
Select the highest mission you are able to complete, replay it as many times as you want until you earned your desired amount of funds, then spend your cash on kitchen upgrades that will help you successfully move on to tougher missions.
This is also a great way to earn a few bucks to replenish your cupcake reserves if you ever need to.
11) Always Be Cooking (Bonus Tip)
This final bonus tip is the most important tip to get better at Pancake Bar Tycoon and to master it: always be cooking!
Cook, Cook, Cook
The mid and late game missions almost always require you to be making something whether it is cooking pancakes, pouring juice, or deep frying food stuffs.
The customers keep coming and you must keep working.
You might find a moment of down time if you are really attentive to your customer’s needs but you will almost always need to keep juggling your tasks if you want to get the highest score possible.
Take even a second of rest and that may lead to your doom. Get used to managing all of the tasks in your kitchen nonstop and you will do better than ever before.
Replay the first ten to fifteen missions if you ever need to get practice at juggling the various kitchen tasks you will be responsible for and you will do better in the late game.
Read More Great Articles
Now you know 10 awesome tips to master Pancake Bar Tycoon for the Nintendo Switch.
Bookmark this site to stay up-to-date with even more Nintendo guides.
Check out all Nintendo related articles on Bucket List Games.
(Screenshots taken by me. Images sourced from product pages, websites, or social media and are credited appropriately. Logos, images, etc. belong to their respective owners. All information current at time of publication.)
SOURCE: Nintendo

